

I’ll be honest: I’ve never looked twice at an old refrigerator by the side of the road. You’ve probably seen them too—those bulky, rusting white boxes sitting by dumpsters, seemingly useless. I always assumed they were dead weight, destined for the scrapyard. But everything changed the day I passed my neighbor’s yard on a sunny afternoon and saw something that made me stop in my tracks.
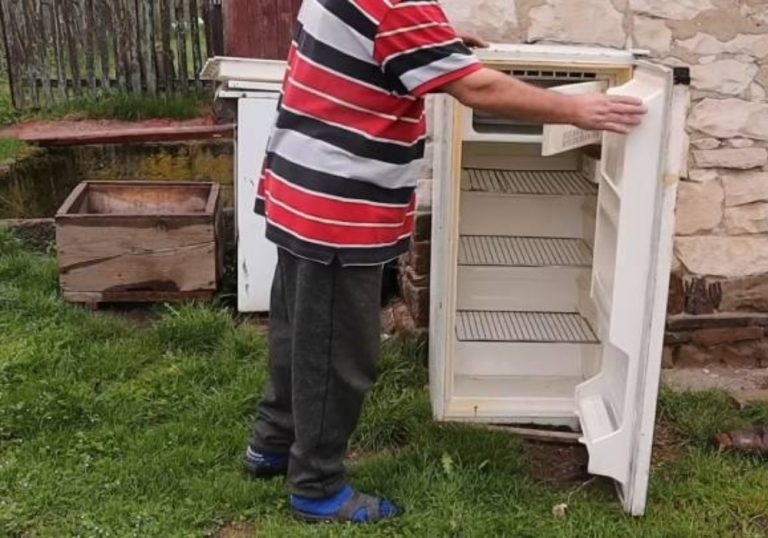
He was crouched beside what looked like one of those discarded fridges. But it didn’t look quite like trash. The door was ajar, sunlight pouring in. Inside, something strange glinted. His hands were busy—tinkering, arranging. The way he moved, with intention and ease, made me realize: this wasn’t junk. It was a project. And when I asked him what he was doing, he smiled and said something that would kick off my own unexpected journey.
“Turning it into a solar dryer,” he said. “Best thing I ever built for the garden.”
Wait. A solar dryer? From an old fridge?
At first, I laughed, thinking it was a joke. But he waved me over, inviting me to look closer. And that’s when I saw it—clean interior, smooth shelving, a door with a glass window neatly cut into it, and metal mesh panels where vents used to be. It wasn’t a fridge anymore—it was a powerful, eco-friendly, sun-powered tool for drying fruits, herbs, vegetables, even strips of fish and meat. Suddenly, my mind was racing. Could I do this too?
By the time I walked back to my own place, I was on a mission.
Why an Old Fridge Is Perfect for a Solar Dryer
Let’s start with the basics. You might be wondering: why use a refrigerator, of all things, for a DIY solar dryer? The answer is simpler than you’d think.
Old refrigerators are surprisingly well-structured. They’re already insulated. They have a sturdy body. They include shelving. And the seal on the door is designed to keep air in or out—perfect for controlling airflow when drying food. Instead of building a box from scratch, a fridge gives you a head start. And best of all? You can usually find them for free or cheap.

Step 1: Find Your Fridge
The first step was tracking down an old unit. A quick online search brought up several listings for free fridges from people cleaning out garages. I picked one up the next day—heavy, yes, but in decent shape. The motor didn’t work, and the freezer door was barely hanging on, but I didn’t need it to cool anymore. I just needed the shell.
Step 2: Gutting the Interior
Back home, I rolled up my sleeves and got to work. I removed every removable part inside: trays, drawers, plastic covers, screws, anything that wasn’t part of the core frame. The freezer compartment came out too. It left a hollow shell, just waiting to be transformed.
Then came the insulation. Most fridges are filled with foam or fiberglass. I pulled it out gently, wearing gloves and a mask for safety. Once emptied, the body felt lighter, and the air could flow more freely through the inner walls.
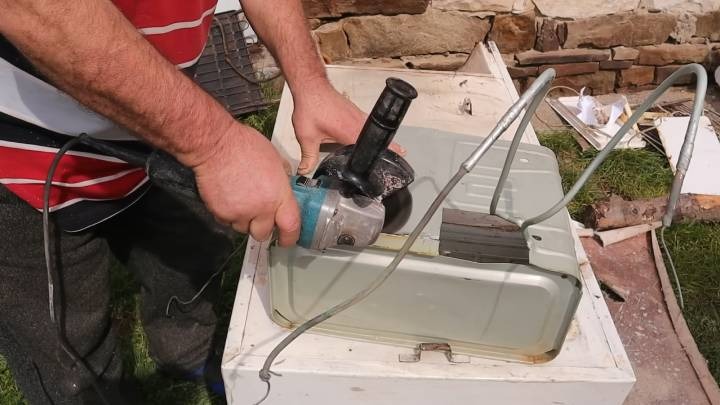
Step 3: Cutting the Vents
To turn a fridge into a functioning solar dryer, you need air circulation. So, I cut out two large vents—one low on the back panel, and one higher up near the top. This allows warm air to rise naturally, pulling moisture out of the food inside.
I also drilled a small hole in the bottom so any condensation could drain, and to help with airflow. The inside was starting to look more like a tool, less like trash.
Step 4: Reinventing the Door
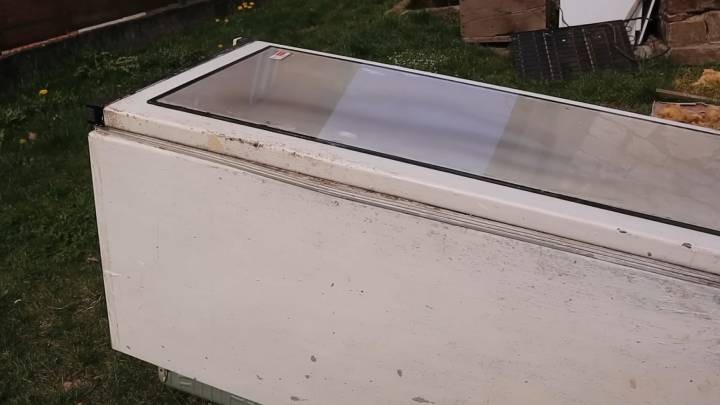
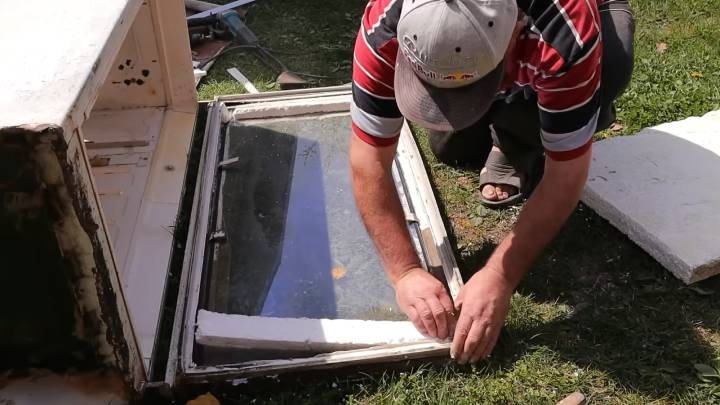
Now came one of the trickiest parts: modifying the door. The goal was to let sunlight in while keeping bugs out. So I marked a rectangle in the center of the fridge door, cut it out with a rotary tool, and inserted a thick pane of tempered glass I found at a local salvage store.
To hold the glass in place, I used foam sealant around the edges, smoothing it with a gentle heat source so it hardened uniformly. The result? A window that let the sun pour in—transforming the fridge into a warm, dry, enclosed space.
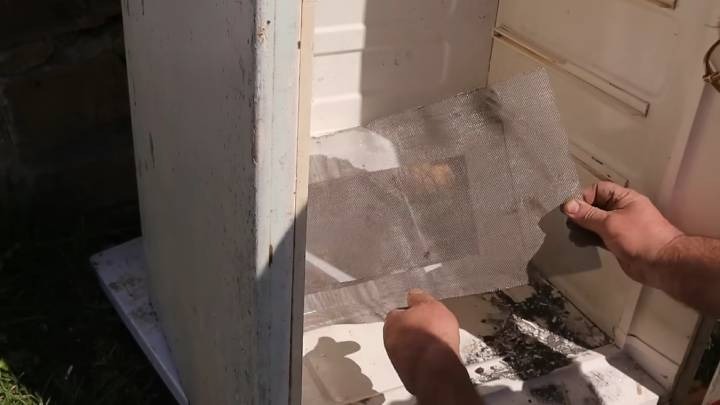
Step 5: Mesh Screens for Protection
To finish the structure, I attached fine metal mesh over the air vents. This keeps bugs and debris out while allowing air to circulate. I also lined each shelf inside with breathable mesh trays—perfect for spreading out fruit slices, herbs, or tomato halves.
Everything was starting to come together.
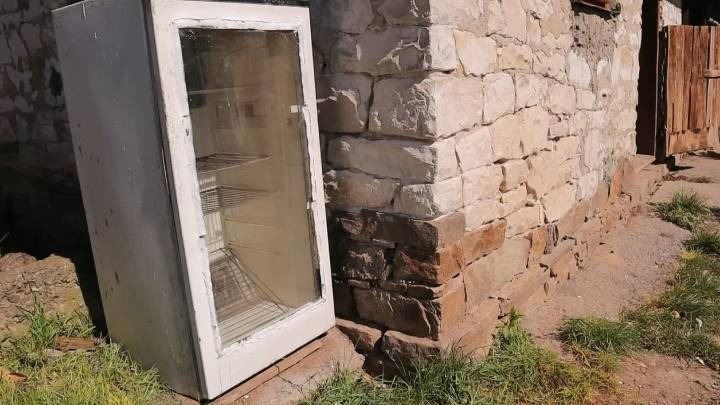
Step 6: Setting It in the Sun
I placed the fridge outside in the sunniest part of my garden. It faced south, tilted slightly back, to catch the most rays. Inside, the temperature rose steadily over a few hours. I put a thermometer inside to test it—it reached 50°C (122°F) by early afternoon.
Ideal for drying. But how would it work in practice?
First Test: Apple Slices
I sliced a few apples, arranged them on the mesh trays, and left them inside. By the next day, they were perfectly dried—still sweet, slightly chewy, and full of flavor. No electricity used. No burning. Just sun and time.
I was amazed.
What You Can Dry
Once you get the hang of it, you’ll be amazed at how many foods you can preserve with your DIY fridge dryer:
Fruits: apples, bananas, peaches, strawberries, figs
Vegetables: tomatoes, bell peppers, zucchini, mushrooms
Herbs: mint, oregano, thyme, basil, rosemary
Protein: jerky strips, dried fish (with proper safety precautions)
Flowers and seeds for crafting or storage
And because it’s enclosed, you don’t have to worry about birds, bugs, or rain ruining your batch.
Practical, Sustainable, and Inspiring
What I love most about this project isn’t just the results—it’s what it represents. It’s about seeing value where others see waste. It’s about turning a discarded object into something that adds richness to your life. It’s about stepping away from throwaway culture and embracing ingenuity.
It’s about making something truly useful with your own two hands.
Tips for Making Your Own Solar Dryer from a Fridge
If you’re inspired to try this project for yourself, here are a few quick tips:
Choose a fridge with a good door seal. You want to control air, not lose it.
Avoid fridges with too much rust or internal damage. A sturdy body is key.
Wear safety gear when removing insulation. It can irritate your skin or lungs.
Use tempered or double-pane glass for durability.
Angle the dryer toward the sun. South-facing is ideal in most climates.
Check temperatures inside regularly. You want warmth, not overheating.
Don’t overload the trays. Space out food so air can circulate.
Final Thoughts
That old refrigerator, once destined for the dump, now sits proudly in my backyard. It’s a symbol of transformation—not just for the food it helps me preserve, but for how I now see the things we so often overlook.
What started as curiosity became a passion project. And what began as a neighbor’s clever idea became a new chapter in how I live more sustainably, creatively, and joyfully.
So next time you see an old fridge standing by the trash, maybe don’t laugh—or walk away. Maybe, like me, you’ll take a second look. And maybe, just maybe, you’ll discover what that “junk” can truly become.


